Running AMM benchmarking tests
info
The following section aims to help us run benchmarking tests on the Eclipse Network.
Why AMM Benchmarking?
- Essentially, we want to test the performance of the Eclipse Network by obtaining the transactions per second (TPS) that the network can handle and its latency.
Pre-requisites
- You will have to have nodejs installed on your machine. You can install it from here.
- Now, once you have that ready, you will have to clone our benchmarking repository. You can do that by running the following command:
git clone https://github.com/Eclipse-Laboratories-Inc/eclipse-benchmarking/
- To do this you will also have to ensure that git is installed. You can install it from here.
Running the benchmarking tests
-
To run the benchmarking tests, you will first have to navigate to the
token_swapfolder after cloning the repository. -
First we need to install ts-node. To do this, run the following command:
npm i -g ts-node
warning
You might have to give super user or admin permissions to install globally or use the -g flag.
- Now we need to install the dependencies. To do this, run the following command:
npm i
-
Make sure to run this command inside the
token_swapfolder. -
Now, the final step is to run the benchmarking tests using the following command:
ts-node spam.ts
- This runs 10 instances of an AMM performing any specified number of swaps.
Modifying the benchmarking tests
- To modify the number of swaps, we will have to modify the benchmark.ts file inside the
token_swapfolder. - The following is the code snippet that we will have to modify:
...
   await mintTo(connection, payer, mintA, userAccountA, owner, SWAP_AMOUNT_IN);

    console.log("Run test: benchmark swap");
    await benchmarkSwap(275);

    console.log("Success\n");
- Here we can change the specified number of swaps. The default is 275.
- The above code snippet is located at line 63 in the benchmark.ts file.
Example
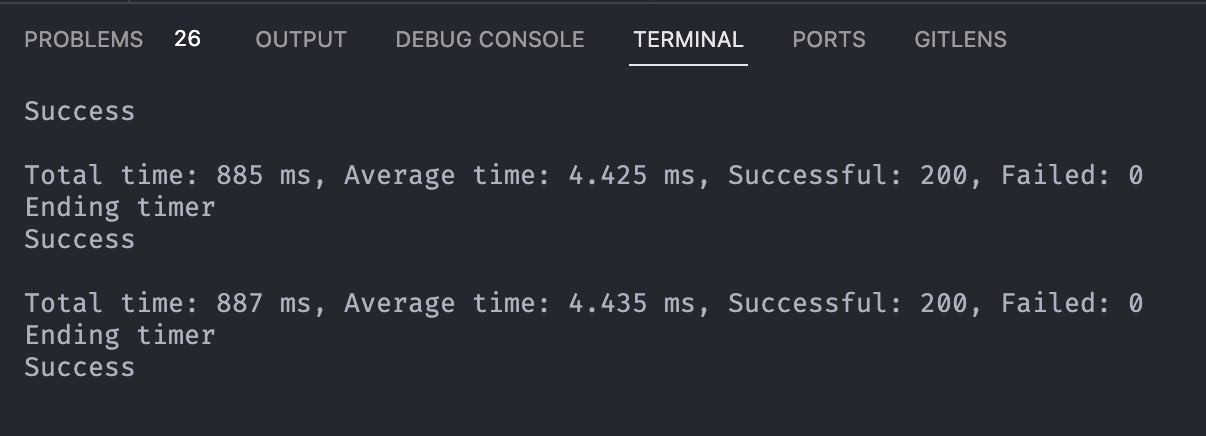
- If all the steps are followed correctly, you should see an output similar to the following:
